Ever stared at those unsightly cracks and wondered how to fill cracks in driveway? You’re not alone. In this comprehensive guide, we’ll demystify the process for you.
From understanding what causes these cracks to choosing the right filler material, you’ll learn all there is about driveway repair.
So roll up your sleeves—it’s time to reclaim that smooth surface that once was a source of pride in your home!
Understanding the Causes of Asphalt Driveway or Concrete Driveway Cracks
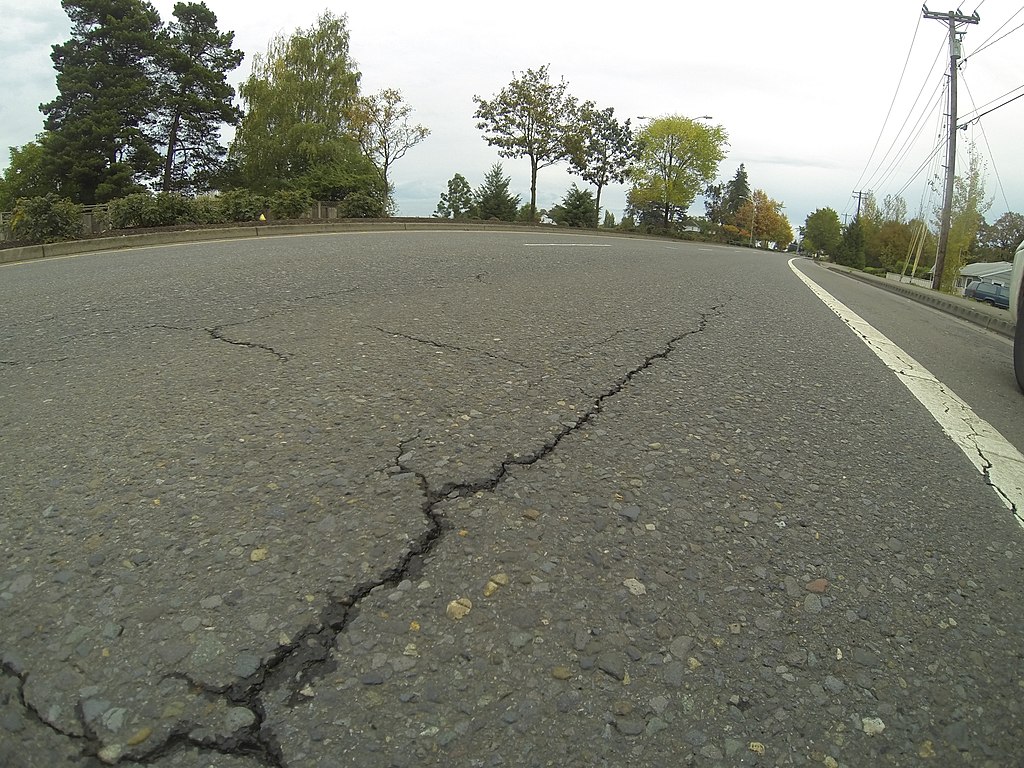
Before you start fixing those cracks, it’s essential that you understand what’s causing them in the first place. There are numerous reasons why your asphalt driveway or concrete driveway might be cracking.
Weather conditions play a significant role; extreme heat can cause concrete to expand and then contract when it cools down, which results in cracks.
Water is another culprit. It seeps into small spaces and freezes during winter, expanding and causing the pavement to crack.
Poor construction could also be at fault; if your driveway wasn’t installed properly, with an insufficient base or incorrect concrete mix, it won’t stand up to wear-and-tear.
It’s crucial to identify these root causes so you’re not just slapping a band-aid on a problem that’ll recur. For instance, if water seepage is the issue, sealing your driveway annually might be necessary. If poor installation is the cause, consider seeking professional help for a more permanent solution.
Remember: innovation starts with understanding the basics thoroughly before jumping into action. This way you’ll prevent future problems instead of constantly patching up current ones – truly an innovative approach!
Necessary Tools and Materials for Driveway Repair
You’ll need a range of tools and materials to carry out the repair effectively. The process of filling driveway cracks isn’t overly complex, but it does require precision, patience, and the right gear.
- Concrete filler or sealant
This is the essential material you’ll use to fill those unsightly cracks. Look for a high-quality product that’s designed for outdoor use and can withstand both weather elements and heavy traffic.
- A caulk gun or similar applicator
Filling in cracks isn’t just about slapping on some filler; it’s about applying the material accurately into every nook and cranny of each crack.
- A trowel, squeegee, or putty knife
To smooth out the applied filler or sealant, ensuring an even surface that blends with your driveway’s existing texture.
Choose your tools wisely; they should be sturdy enough to handle the task but also easy to manipulate for detailed work. Don’t shy away from seeking innovative products – there are always new solutions being introduced in this field, which can make your DIY project quicker, easier, or more effective.
Remember: A well-maintained driveway not only boosts curb appeal but can also prevent more serious damage down the road.
Steps to Prepare Your Driveway for Crack Filling
Once you’ve gathered all necessary materials, it’s time to prep your pavement before you repair cracks. Start by sweeping away any debris that could interfere with the crack-filling process. You’re looking for a clean, smooth surface to work on.
Next up is weed removal. Weeds can weaken your driveway and interfere with the bonding of the filler material. Don’t just yank them out; make sure you get those roots too. It’s essential to nip this problem in the bud!
Then, it’s onto cleaning. A pressure washer is perfect for this task because it can dislodge loose particles in cracks that might be hard to reach otherwise.
Now, let’s talk about drying – a critical yet often overlooked step! After washing, give your driveway ample time to dry completely before applying any filler or sealant.
Lastly, don’t forget about safety precautions! Always wear appropriate protective gear during these tasks: gloves for handling rough materials and chemicals; safety goggles when pressure-washing; sturdy shoes for overall protection.
Remember: Preparation is key in this innovative approach to DIY driveway repair! Your meticulously prepped surface will ensure that whatever crack-filling solution you choose bonds effectively and lasts longer – saving you both time and resources in future repairs!
Choosing the Right Filler Material to Fix Cracks
Now that your pavement is prepped, it’s time to decide on the right sealant for your repair needs. The market is flooded with a plethora of options, but not all are created equal. It’s crucial that you select one that suits both the severity and type of cracks in your driveway.
Here are three factors to consider when choosing the right filler material:
- The Size of Cracks
For smaller cracks (less than half an inch wide), a simple liquid crack filler will suffice. However, larger cracks may require a more robust patching compound.
- Your Climate
If you live in an area with extreme temperatures or weather conditions, opt for a sealant that’s specifically designed to withstand those challenges.
- Ease of Application
Some sealants need professional-grade tools for application, while others require nothing more than a caulk gun or putty knife. Consider your comfort level with DIY tasks before making a selection.
Remember: trying to save money by opting for cheaper products often results in poor quality repairs requiring future reworkings; investing in top-notch materials now can save costs down the line. You’re paving the way towards innovation by taking this DIY route!
Detailed Process of Filling the Cracks in Your Driveway
Let’s delve into the step-by-step procedure of rectifying those pesky imperfections on your pavement.
First, ensure you’ve picked the right day for this job; a dry, mild day is ideal. Then thoroughly clean out the cracks—remove any debris or loose particles with a broom or leaf blower. You’re creating a clean canvas for your repair work.
Next up: prepping the filler material. If you’re using a pourable crack filler, give it a good shake to mix all its components. For patch compounds or trowel grade fillers, stir them well in their container until they reach an even consistency.
Now comes the fun part! Carefully pour or scoop the filler into the cracks; make sure it’s filled to just above surface level. Use that handy trowel or squeegee to press down and smooth out the material so it bonds properly with your driveway’s surface.
Give it time; don’t rush this process as curing can take anywhere from 24 hours to a few days depending on the product used and weather conditions.
Hiring a Professional Contractor if DIY Crack Filling Doesn’t Work
If attempting to fill cracks in your home on your own has proven unsuccessful, it may be time to contact a professional company like Boswells Paving. While DIY crack filling can seem like a cost-effective solution, there are many factors to consider that may require the expertise and experience of a professional. Boswells Paving will have the necessary tools and equipment to properly assess the cracks in your home and determine the best course of action. They will also have access to high-quality materials that may not be readily available to homeowners.
Additionally, they have extensive knowledge and experience in dealing with various types of cracks and can provide long-lasting solutions. So hiring them can save you time and money in the long run by ensuring that the cracks in your home are properly repaired, preventing further damage and potential costly repairs down the line.
Post-Crack Filling Care and Maintenance
After you’ve done all the hard work, it’s crucial to properly maintain the surface to prolong its lifespan and keep it looking sharp. You’re investing time and effort into your driveway, so let’s make sure that investment is well-protected.
Here are three key steps in markdown format:
- Regular Cleaning
Don’t underestimate the power of keeping your driveway clean. Regular sweeping removes dirt and debris that can seep into small cracks, expanding them over time.
- Sealing
Applying a high-quality sealant every 2-3 years helps prevent water penetration which can cause freeze-thaw cycles leading to more damage.
- Prompt Repairs
If new cracks appear or old ones re-emerge, don’t delay repairs! Quick action prevents further deterioration.
You see, maintenance isn’t just about preserving appearances—it’s about preventing future issues before they happen. By following these steps, you’re not only making a smart move for now but also saving yourself from potential headaches down the road.
The result? A longer-lasting driveway that continues to add value and curb appeal to your home for years to come. That’s what we call innovative thinking combined with practical action!
Conclusion
And there you have it! By understanding the causes and gathering the right tools, you’ve successfully repaired those pesky cracks.
Preparing your driveway is an important step in the process. Make sure to clean it thoroughly and remove any loose debris before filling the cracks.
Choosing the appropriate filler material is also crucial. There are different types available, such as asphalt crack filler or concrete crack sealant. Select the one that matches the material of your driveway.
Once you have everything ready, it’s time to start the filling process. Make sure to follow the instructions on the product you’re using and apply the filler evenly into the cracks. If the DIY process is ineffective, you have to let the professionals take care of this problem for you.
After you’ve filled the cracks, it’s essential to maintain and monitor your driveway to prevent future cracks. Regularly inspect it for any signs of damage and address them promptly.
With a bit of effort and know-how, you can keep your driveway looking as good as new for years to come. So take the time to repair those cracks and enjoy a smooth and visually appealing driveway.


